We offer several delivery options, including standard shipping, express shipping, and, for some items, in-store pickup. Delivery times and costs vary depending on the option chosen and the delivery location.
Description
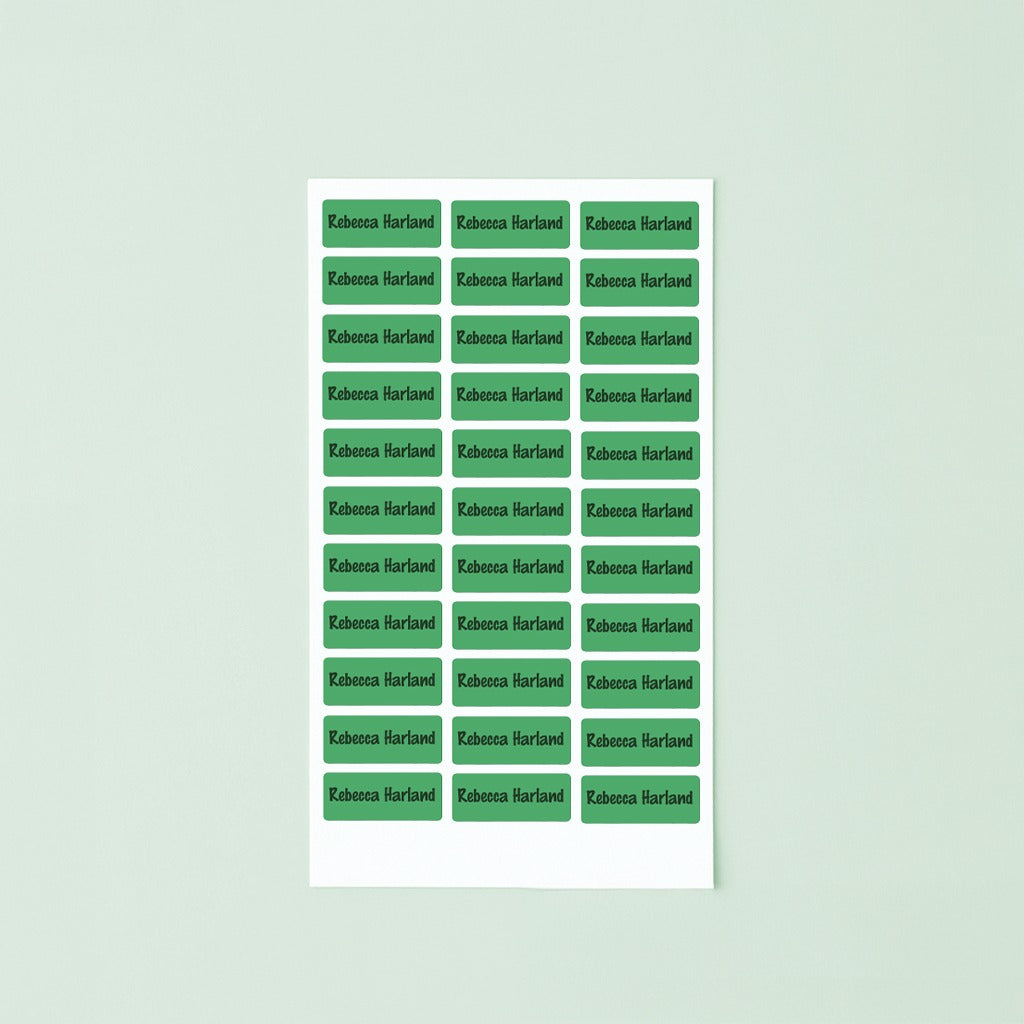
Iron On Labels
NZ Owned and Operated Business, Fast Delivery.
Perfect clothing labels to name school, daycare & rest home clothing.
Label your socks, trousers & shirts with these laudry safe clothing labels.
Different quantity options available from the drop down menu. Names for Large and Small labels will likey be over 1 line, while for Medium labels will likely be over 2 lines
Choose font color carefully, we suggest darker color for lighter backgrounds and vice versa. We reserve the right to change the font color if deemed unsuitable
Please enquire for a special price for bulk iron orders at : info@preciouslabels.co.nz
PLEASE READ IRON ON APPLICATION INSTRUCTIONS BELOW FOR BEST OUTCOME

Iron On Clothing Labels Application Instructions
1. Iron On labels can be applied to any part of the garment.
2. Ensure labels adhered to smooth parts of the garments i.e. they are NOT applied where garments have folds/ pleats or is gathered due to elastic bands.
- Set iron to Dry mode (no steam) at highest temperature i.e. cotton/linen setting. Make sure the iron is not defective as these labels require high heat of around 200 C.
- Peel Iron On label from the sheet and place it on the on fabric.
- Place the parchment paper (included) over the Iron On label.
- Place iron over the parchment paper and HOLD iron in place over the label for 10-15 seconds with medium pressure. DO NOT MOVE THE IRON. DO NOT USE TIP OF THE IRON, USE THE CENTRE BROAD SECTION OF THE IRON
- Repeat Step 4 for another 10-15 seconds. Check to ensure the edges have adhered to the fabric. If not, repeat Step 4 as long as it takes until the edges seal to fabric.
- Please ensure the labels are left on for 24 hours after application, before using or washing them for maximum adhesion and durability.
- DO NOT APPLY LABELS ON CLOTHING TAGS, APPLY THEM DIRECTLY ON THE FABRIC.
Note: Your parchment paper is reusable. If you lose it, don’t worry, you can use kitchen baking paper or aluminum foil.
Common Problems with Iron On labels:
1. Labels are curling and not adhering to fabric: Iron is not set to a high temperature OR Iron is faulty and not heating up well. Please try using someone else’s iron
2. Labels are sticking to parchment paper: Iron is not set to a high temperature.
3. Print is smudging on parchment paper. Use an old cotton shirt or something similar between label and iron,
Peeling Labels off the sheet
- The labels have been cut and should peel of relatively easily off the sheet.
- To peel the labels bend the sheet till the labels lift off the edges, where they have been cut. Most labels will lift off easily while some might require additional pressure. Please call/email us if there are any issues, and we will sort it out.
What should I do If my labels curl up when ironing
Iron-on labels curling or shrivelling under a hot iron is very common, and it usually happens because the adhesive or backing is reacting too fast to heat.


